Building a Serverless Contact Form
A few months back, I finally decided to migrate my personal website from a self-hosted WordPress installation running on a Linode server, to a simple static website built with Jekyll and served by GitHub Pages.
One of the challenges of switching to a static site was the contact form. Unlike my previous setup, this site is served by GitHub, and I don’t own the backend, so I couldn’t write code to process and send the email server-side. I also didn’t want to stand up a separate web server just for that.
Initially, I just gave my email address instead. But honestly, I can’t stand mailto: links, and much prefer filling out a form right there on the site. As a developer, I like a good challenge.
Going Serverless
These were my requirements: the design should match my site and be usable on large and small screens, and the form should provide basic spam protection and reliable delivery. Form submissions should be validated and sent without a page reload.
Hoping for a quick win, I looked at form builders. But the options I looked at didn’t allow me to receive the submission directly by email, and offered limited scope to customize the design. Given I didn’t want the expense or hassle of spinning up an entire VM or app service for a simple contact form, I decided to go serverless.
The Front-End
But first, I needed a form that I could hook up to the serverless endpoint. I started by writing the markup and adding some basic styling. As you can see, the form is simple, with just two fields: the sender’s email address, message, and a reCAPTCHA to hopefully block any bots (the “I’m not a robot” checkbox that you see everywhere).
I used CSS Grid for the form layout, which made it super easy to create a two column layout that collapses to a single column at small screen sizes:
.contact-form {
  display: grid;
  grid-template-columns: 150px 1fr;
  gap: 16px;
}

.contact-form label {
  grid-column: 1 / 2;
  line-height: 40px;
}

.contact-form .form-control {
  grid-column: 2 / 3;
}

@media screen and (max-width: 600px) {
  .contact-form {
    grid-template-columns: 1fr;
  }

  .contact-form label,
  .contact-form .form-control {
    grid-column: auto;
  }
}
With the markup done, I added the event listeners for validation and submission. I’m using the blur event to validate each input as you click or tab out of the element:
contactForm.elements.emailAddress.addEventListener('blur', function (ev) {
  validateEmail(this);
});

function validateEmail(el) {
  if (el.value.length > 0 && isValidEmail(el.value)) {
    hideElementById('emailError');
    return true;
  }

  showElementById('emailError');
  return false;
}
A neat trick I learned: you can access all of the forms on a site using document.forms and forms are keyed on the name of the form: const contactForm = document.forms.contact;
When the user submits the form, the inputs are validated again, including the reCAPTCHA field. The fields are then serialized and sent as JSON to the contact form endpoint. To make it easy to test locally, I conditionally set the endpoint URL based on whether the site is in development mode or live. In the Jekyll template code:
<script>
  const CONTACT_BASE_URL = {% if jekyll.environment == "development" %}"http://localhost:7071"{% else %}"https://contactform4891.azurewebsites.net"{% endif %};
</script>
Building the Function
There are loads of services out there for building “serverless” apps, but for this project I went with Azure Functions and followed the docs for building a C# function using Visual Studio Code. VS Code provides support for deploying, debugging, and configuring the app within the editor, but you could just as well develop from the command line.
Once finished, I had a function app that I could debug locally and deploy to the public web. Next up was the business logic. The function needed to do four things: receive and parse the data, validate that the reCAPTCHA token is legit, build the email, and pass it off to SendGrid to deliver.
Integrating SendGrid
I chose SendGrid for the email delivery because they offer a free plan, capped at a generous 100 emails/day, which is ideal for a personal website like this. SendGrid also has pre-built bindings for Azure Functions which makes it dead simple to integrate.
I installed the SendGrid binding as a nuget package and added the SendGrid attribute to the method signature, as per the example here. I added the logic for reading the request body and tested it by running the Jeykll site and Azure Function locally.
Next up, I added reCAPTCHA validation. When the user completes the reCAPTCHA on the site, a token is generated to confirm they’ve passed the challenge, and I send this token over an HTTPS connection to the serverless endpoint along with the user input when the form is submitted.
But the server has no way of knowing that this token is legit, so in the serverless function itself, I send the token along with a private key to the reCAPTCHA verification endpoint: https://www.google.com/recaptcha/api/siteverify?secret={secret}&response={token}
As per best practice, I have a separate reCAPTCHA secret key for local development and production, and each key is only valid when sent from its respective domain. Along with the SendGrid keys, these are stored in configuration files that are never checked in, and referenced in code via Environment.GetEnvironmentVariable().
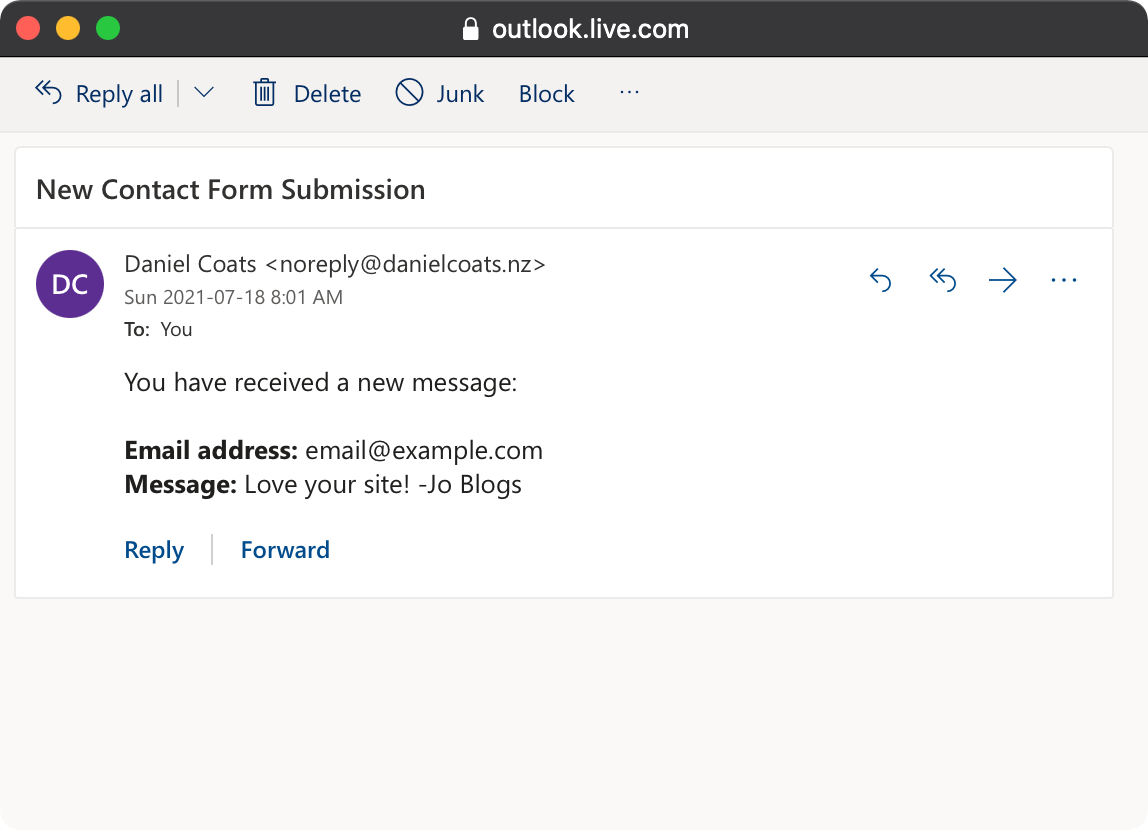
If reCAPTCHA responds with a success message, then I build the email and pass it off to the SendGrid message collector to send. If everything has succeeded to this point, the function responds with a 200 OK and the contact form tells the user the submission succeeded. A few moments later, the message arrives in my inbox:
You can find the source code for the serverless function here and the JavaScript code here.